Create a content entry
We will now add some content for our newly created Product model.
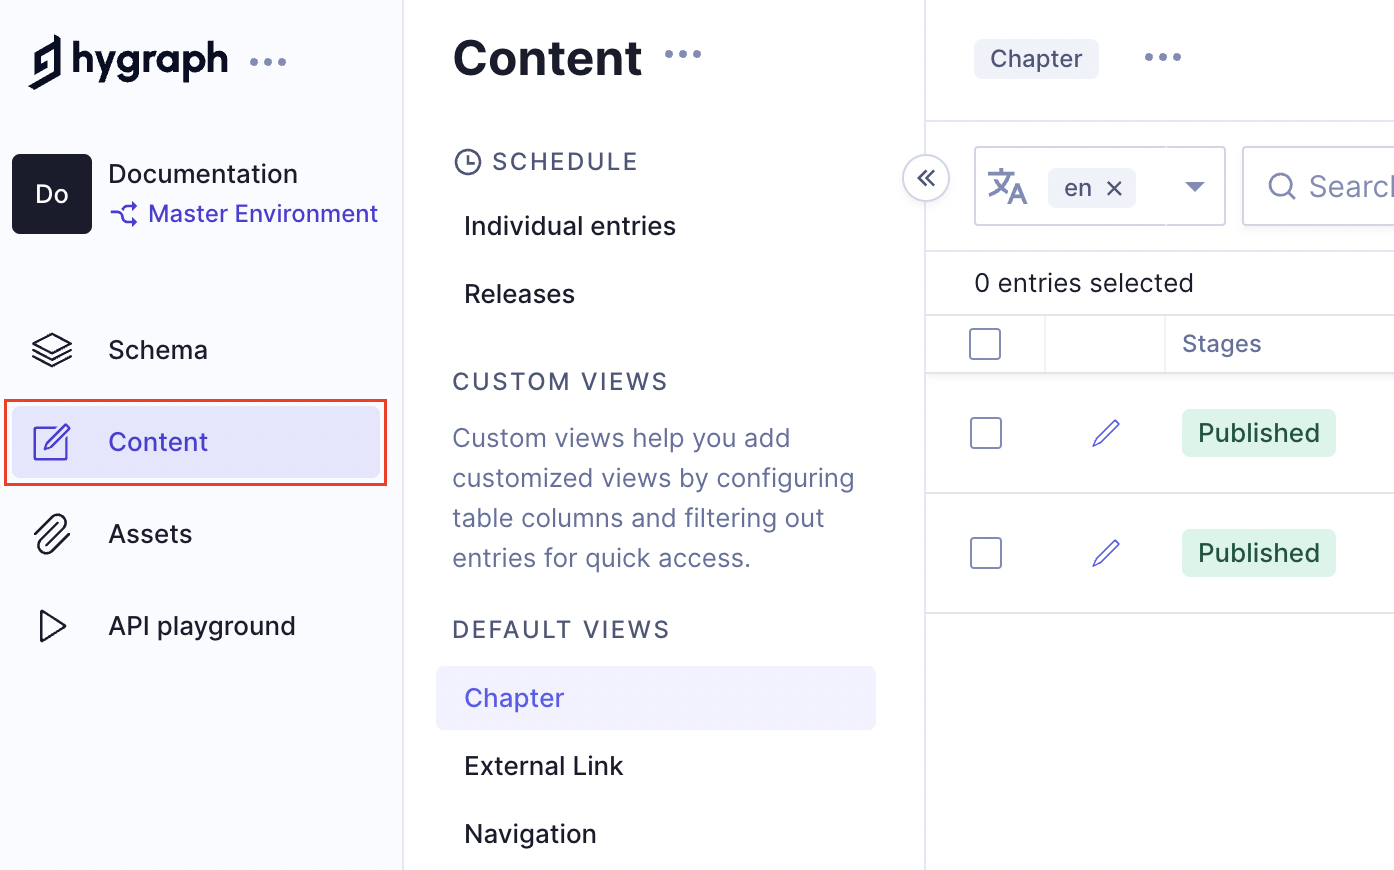
To add a product content entry, using the sidebar, navigate to the content editor:
Unless you created additional models in the previous step, you should now be taken to the Product content list.
From here you can see all of the content entries for products:
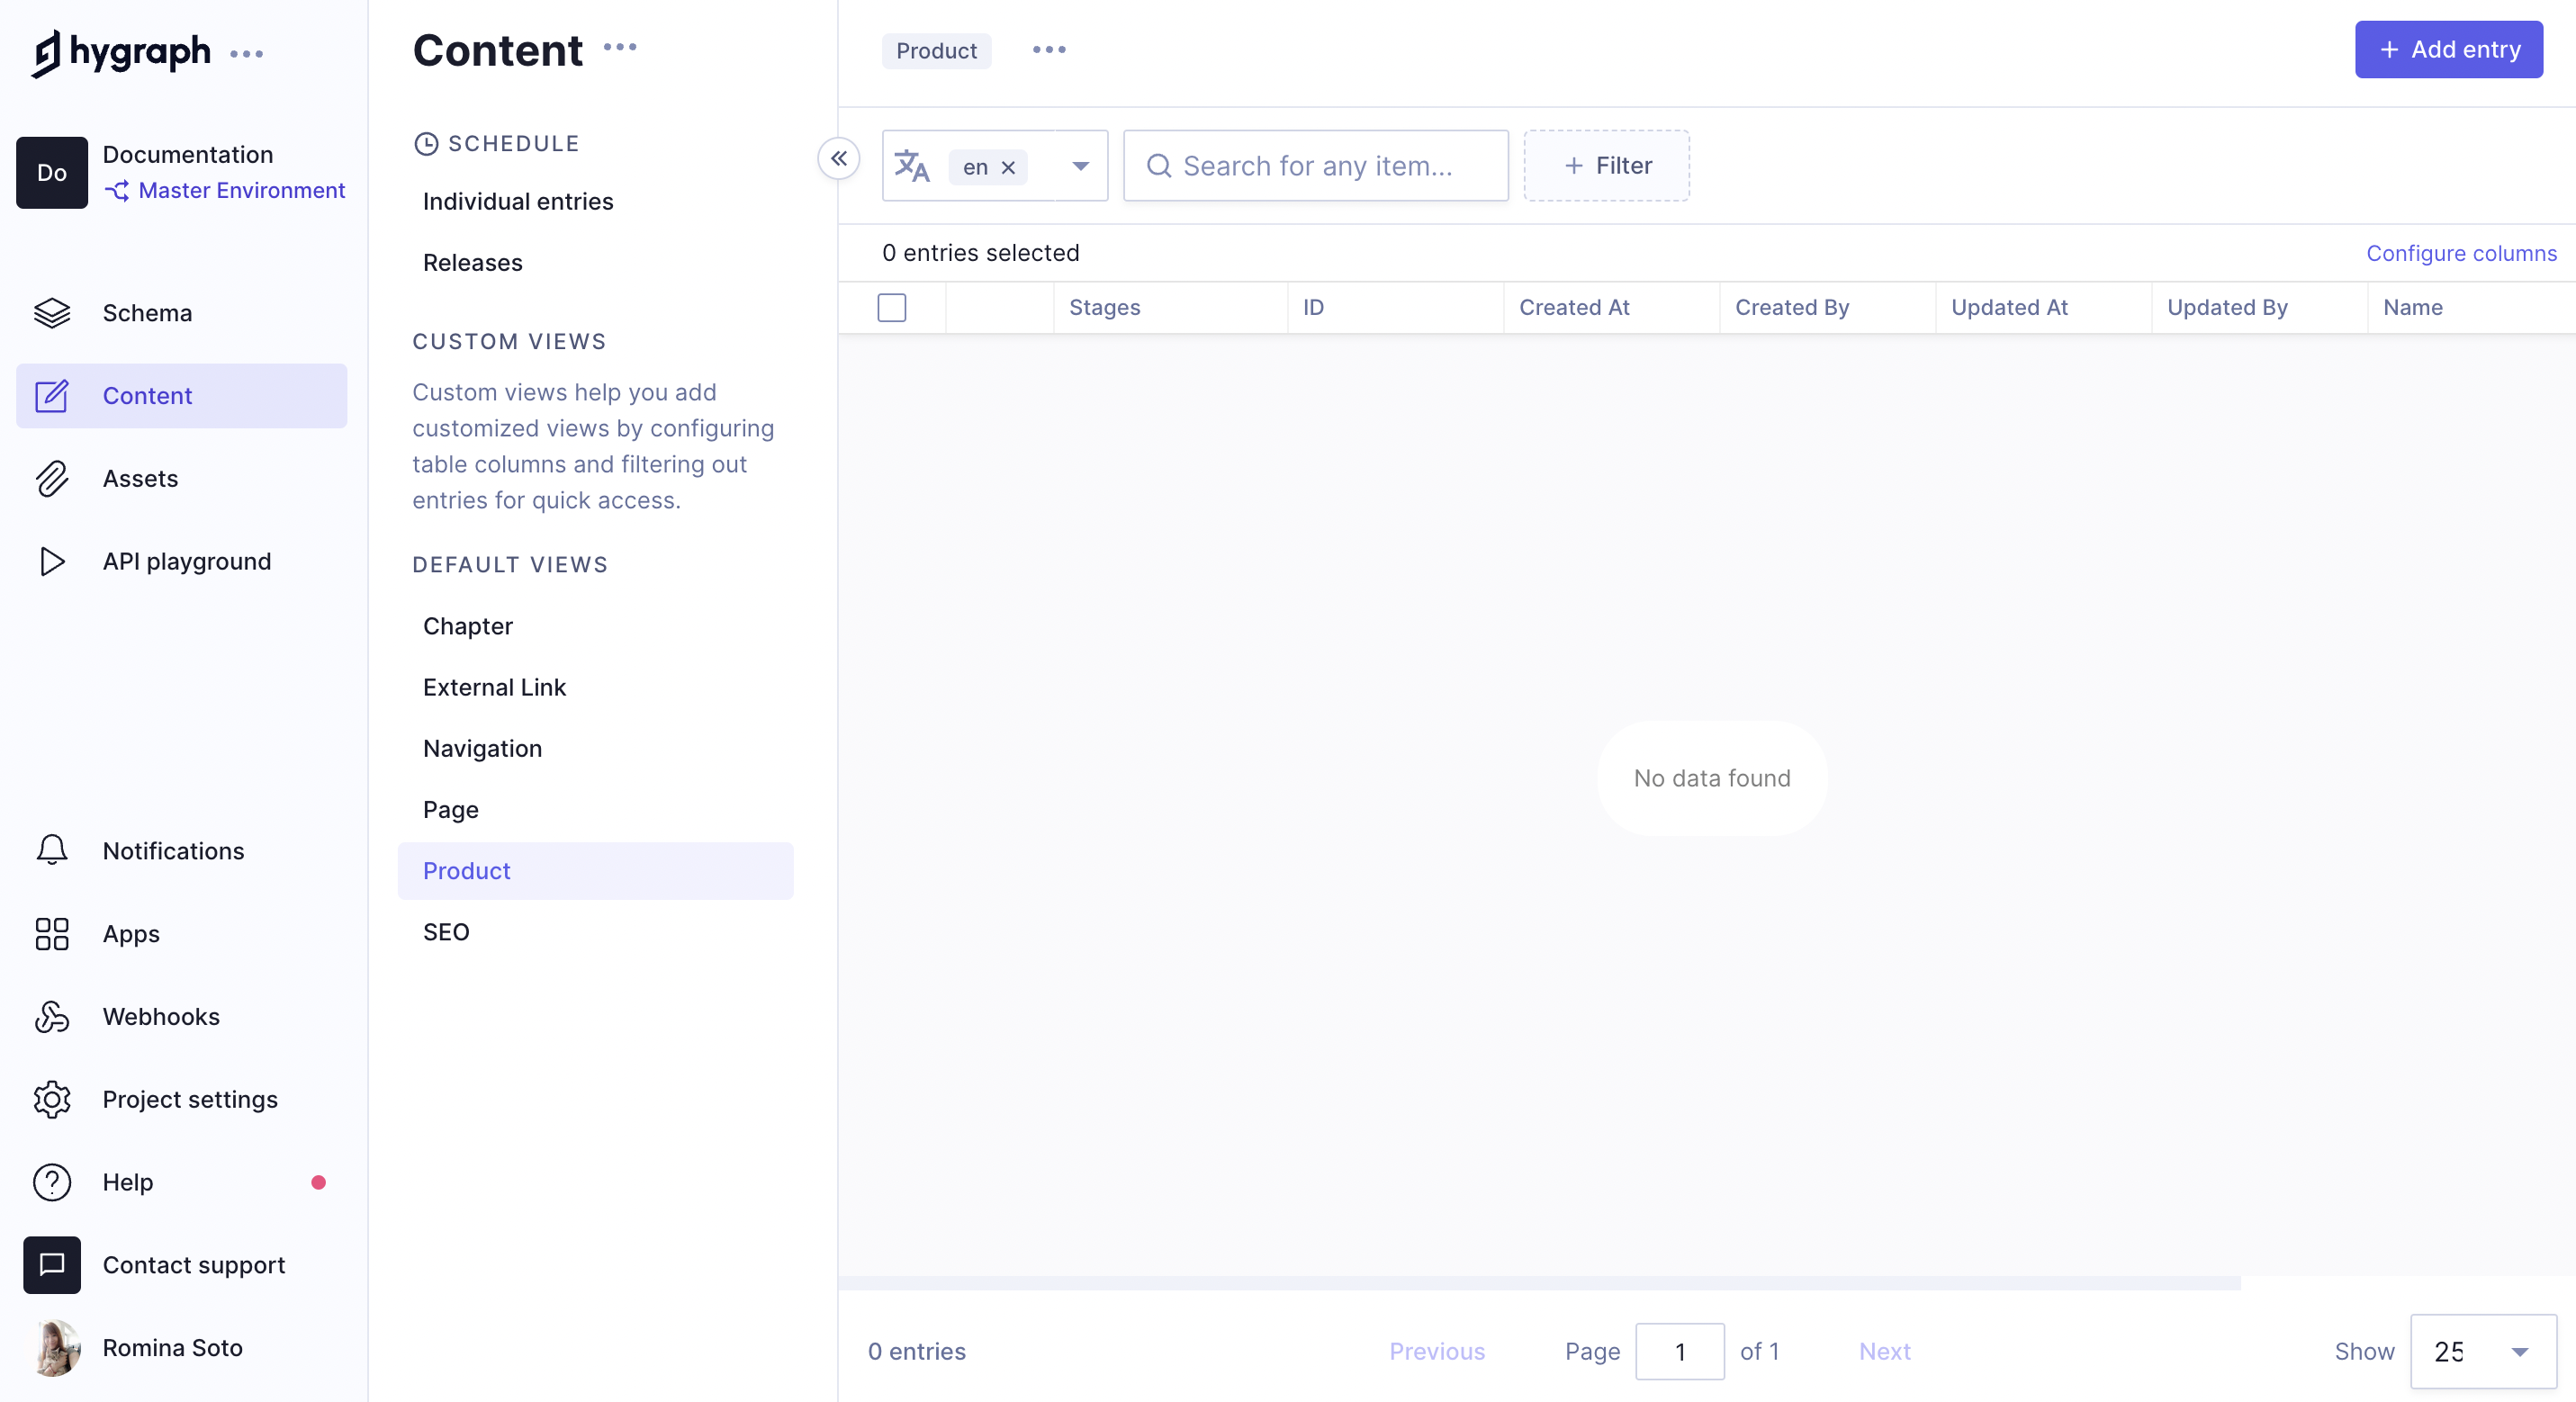
Once content is added, entries will appear in the table view where you can filter, and paginate your content to find what you're looking for to edit. We'll do that next.
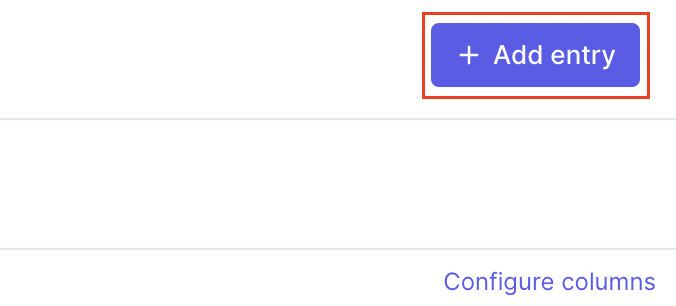
To create content, you'll want to click on + Add entry from the top right of your content list view:
You'll be redirected to a form where you can enter the details for your new product. Go ahead and add your product details, this can be anything you like!
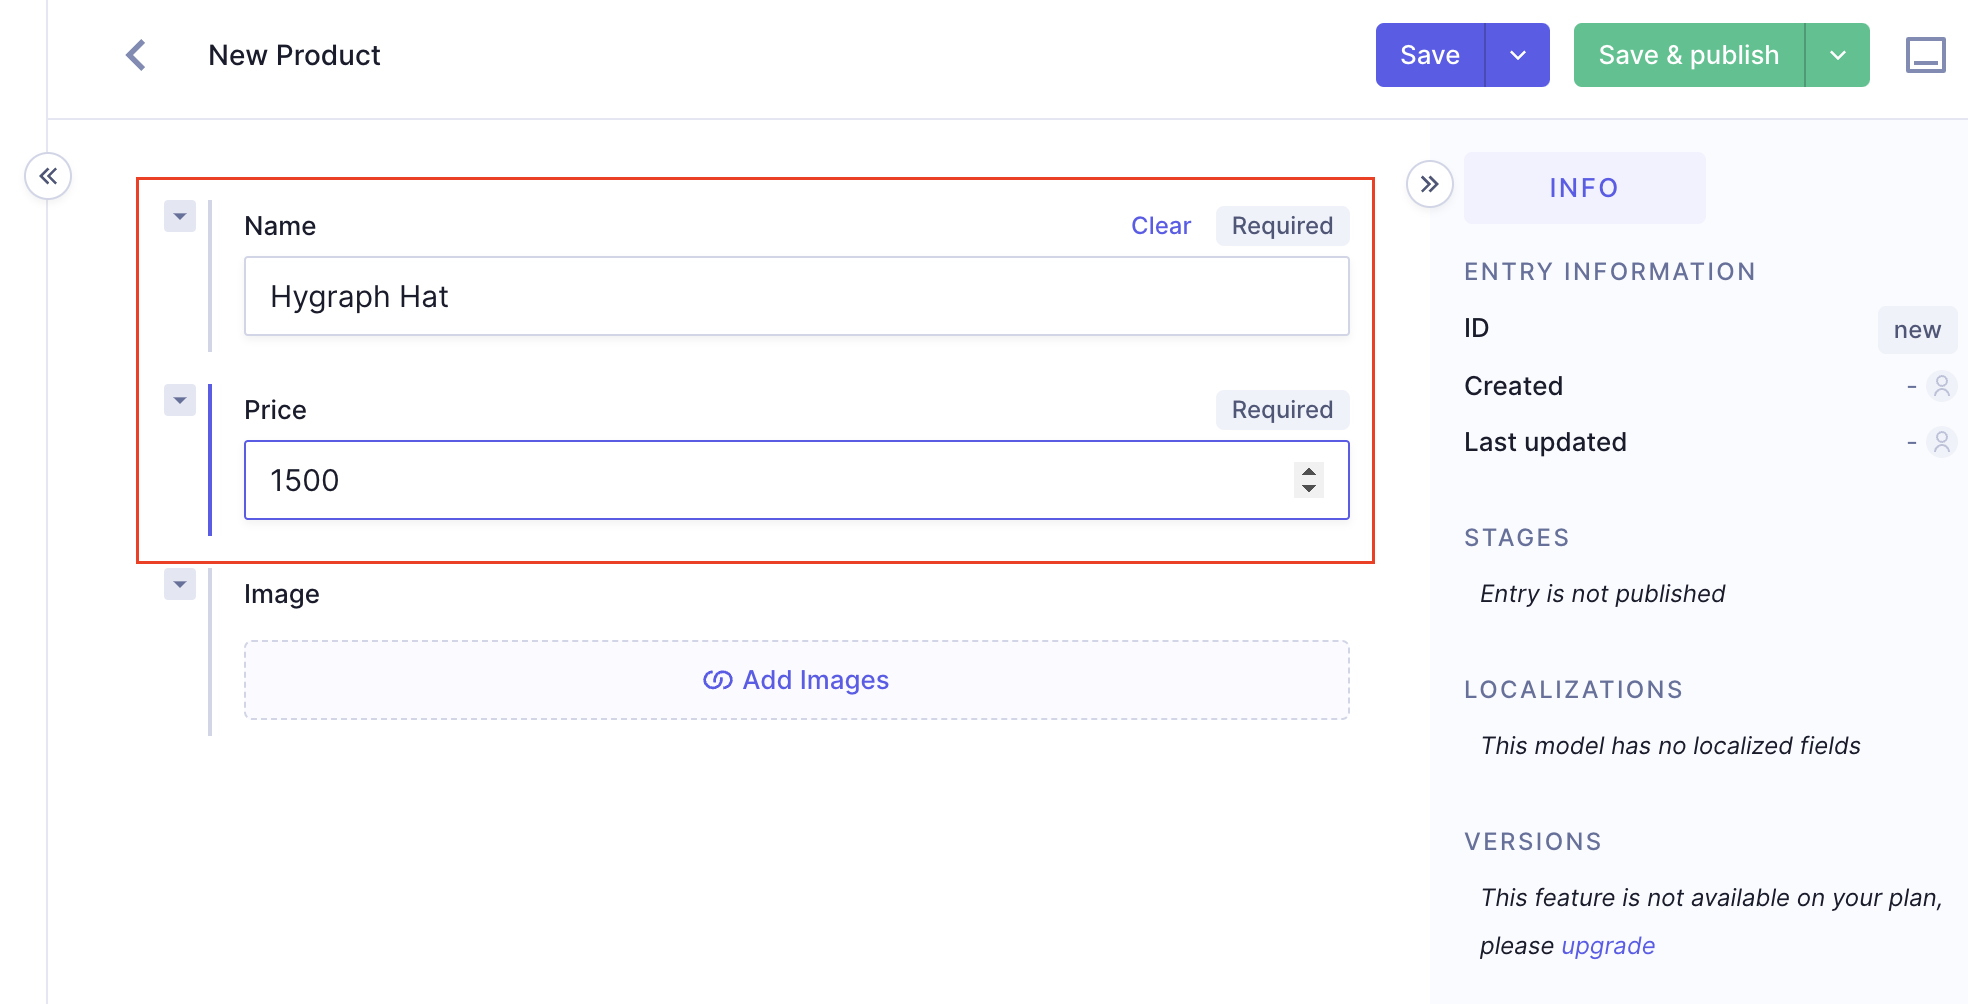
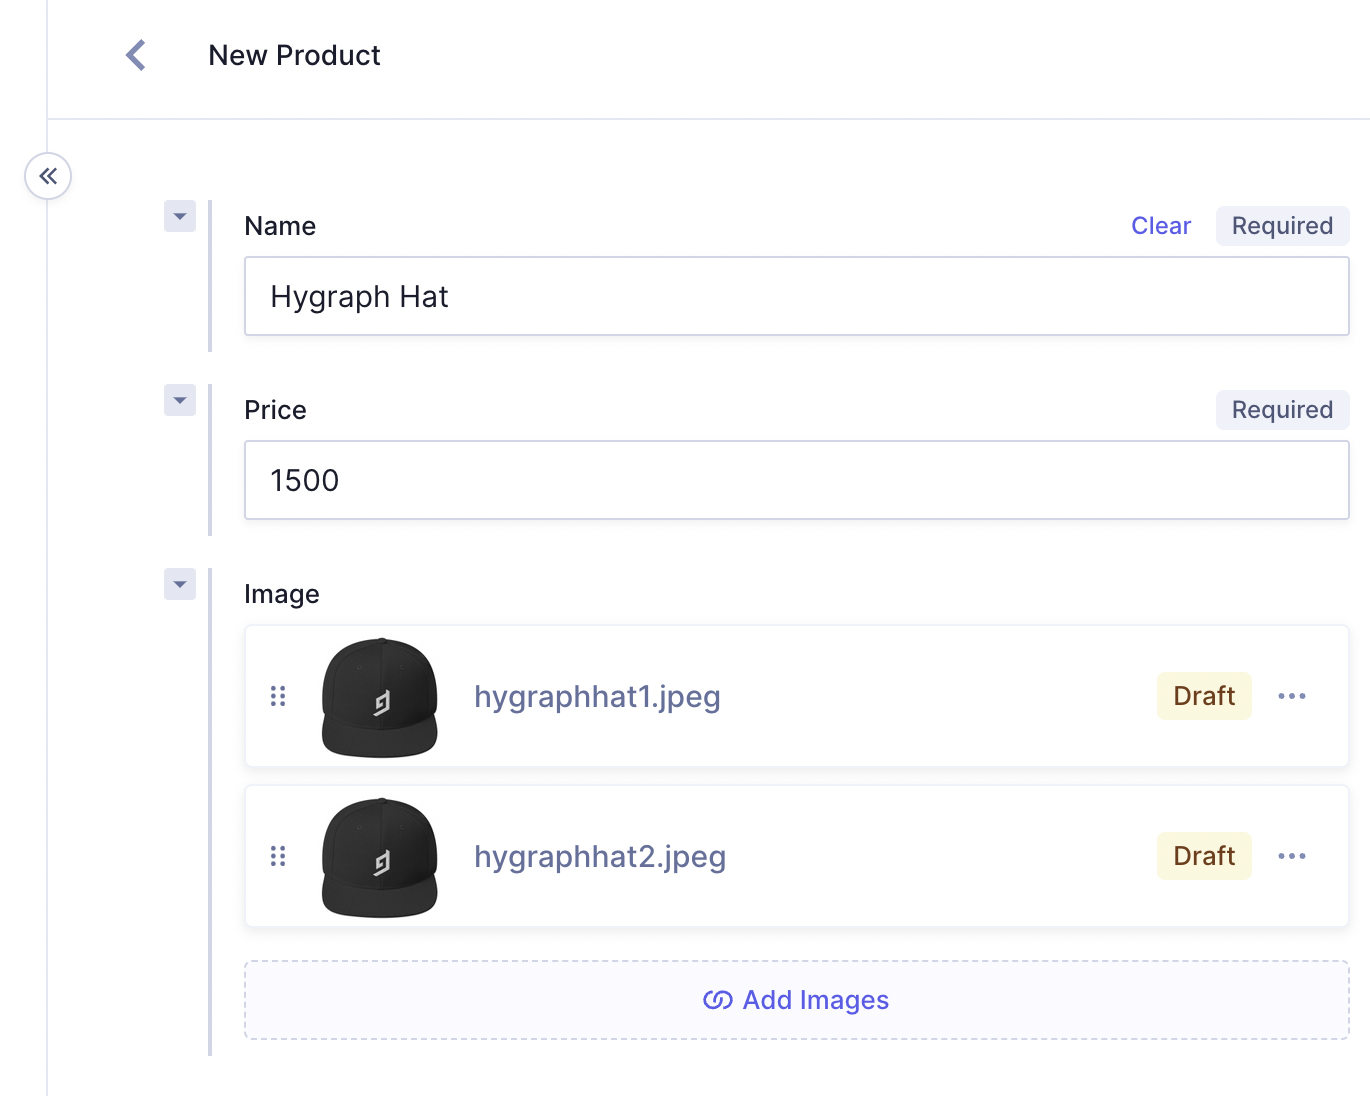
Name and Price were to set to required in the schema, so the UI here reflects those constraints. Image allows multiple images to be uploaded since we allowed multiple values in the schema.
Next you'll want to upload one or more images for your product. You can do this by clicking on the Add existing Images button, and choosing a file from your computer to upload.
Once you've uploaded images, you should see something like this in the content form:
Next all that's left to do is Save your content entry. You can do this in the upper right of the page:

You can continue to make changes to your content entry, and then save it again as many times as you want.
