Onboarding overview
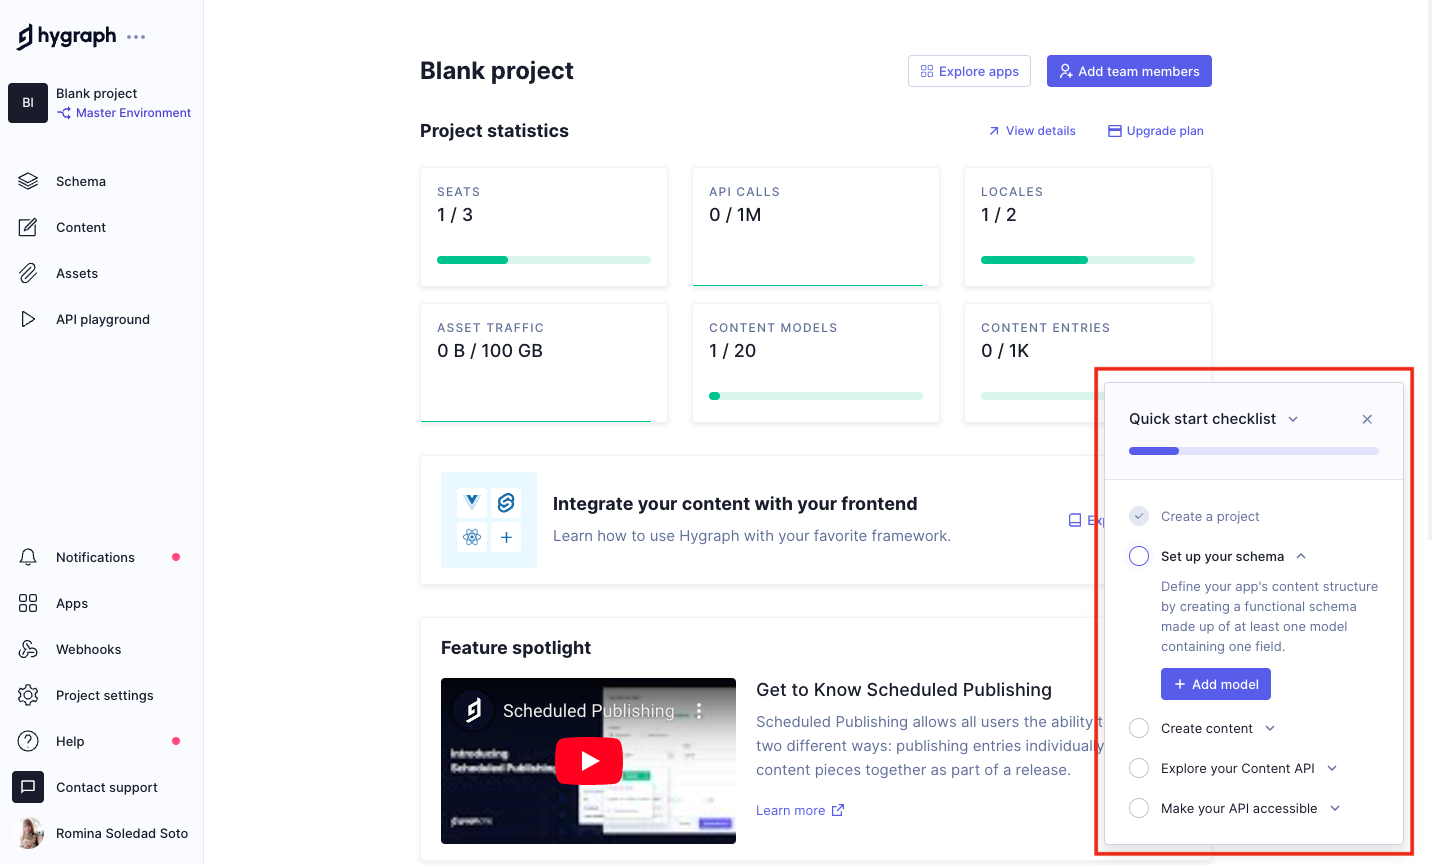
The quick start checklist, initially located on the lower right corner of the screen of your project, is designed to onboard you into using Hygraph.
The checklist will take you through the steps covered in this getting started tutorial, from creating a project, to enabling API access to share your content with others.
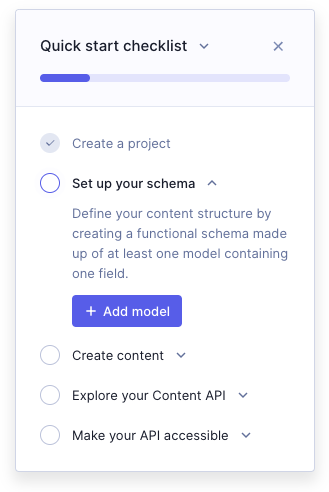
It contains a progression line, so you can follow how far along you are in the process, the steps, with a brief description of each one, and a button that links you to the place in the app where each step will be carried out. As you move forward, completed steps will be ticked off and the following one will display.
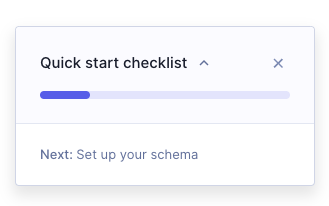
You can use the chevron button on top of the progression line to collapse the list for a more minimal view, then click on it again to fully display it. The collapsed view shows only the checklkist progression bar, and a line for the next step.
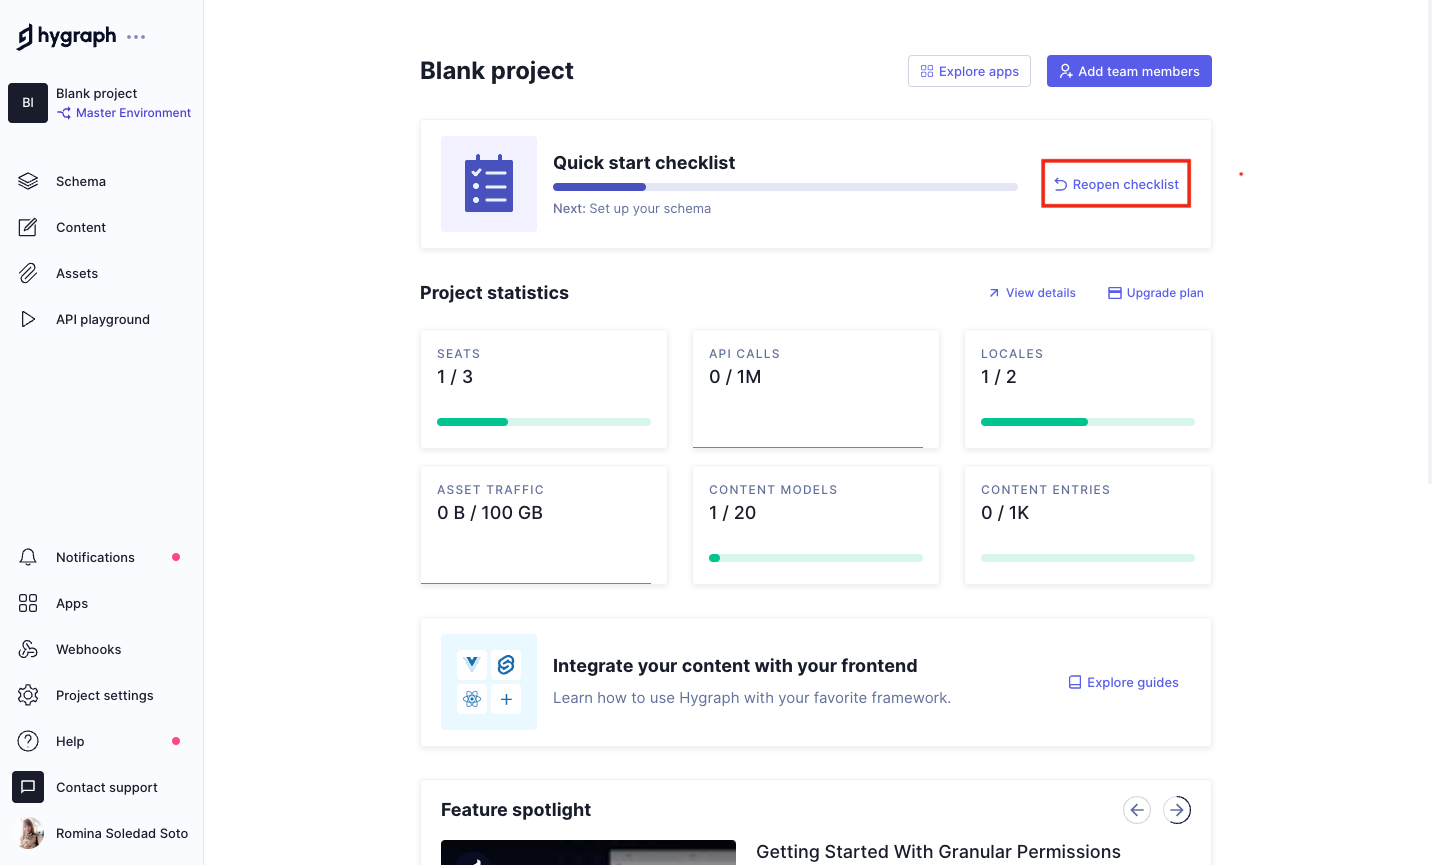
If you close the checklist using the X button, a card will display at the top of the dashboard. The card shows the same progression line, as well as a link to reopen the checklist, in case you wish you have it displayed again.
The steps:
- Create a project: Given that you will only see the checklist when you first access your project dashboard, the Create a project step will be ticked off already. This step is covered in the first document of our getting started tutorial.
- Set up your schema: The second step on the checklist suggests creating the minimal content necessary for a functional schema, that is, one model containing one field. Both of these actions are covered in our getting started tutorial: you will find the document on creating a model here, and the one on adding a field to it here.
- Create content: The third step on the checklist suggests creating content using our intuitive Content editor. These actions are covered in our getting started tutorial under Create content and Publish content.
- Explore your content API: The fourth step takes you to our API Playground, where you can fetch content using GraphQL. Use of the API Playground is covered in our getting started tutorial, here and here.
- Make your API accessible: The final step on the checklist takes you the API Access section of your Project settings, where you can enable access to your API. This is covered in the final step of our getting started tutorial, here.
Let's get started!
Click here to learn how to create your first project.
